Table of Contents
Why Make Homemade Soft Sandwich Bread?
something truly magical about the aroma of freshly baked bread filling your kitchen. Making soft sandwich bread at home offers a wide range of benefits.Homemade soft sandwich bread
- Superior Taste and Aroma – Homemade bread boasts a rich, fresh flavor that store-bought loaves simply can’t match.
- Healthier and Customizable – When you bake at home, you control the ingredients, avoiding unnecessary preservatives and excess sugar.
- Cost-Effective – Baking bread at home can save you money in the long run, especially with rising grocery prices.
- Satisfaction of Crafting – Kneading and baking bread is not just a culinary activity; it’s a rewarding experience that brings comfort and pride.
Moreover, baking bread at home allows you to experiment with different flavors and textures, ensuring each loaf meets your preferences.
What is Homemade soft sandwich bread?
Sandwich bread is a type of bread that is specifically designed to be light, soft, and perfect for sandwiches. Its pillowy texture makes it ideal for everything from toast to packed lunches.
But what exactly makes it soft and fluffy? The secret lies in the dough enrichment process. By adding fats, sugar, and milk, the bread becomes tender and moist, unlike traditional lean bread recipes.
In fact, understanding the elements of enriched dough can significantly impact your baking results. If you’re curious about bread-making fundamentals, King Arthur Baking offers detailed insights into enriched dough and its role in bread softness.
Furthermore, enriched dough creates a loaf that stays fresh longer, providing the perfect balance of softness and structure needed for sandwiches.
Essential Ingredients for Soft Sandwich Bread
Crafting the perfect loaf starts with using the right ingredients. Therefore, let’s break down the key components and their importance:

1. Flour – The Foundation
- All-purpose vs. Bread Flour – Bread flour has a higher protein content, which promotes gluten development, leading to a chewier texture. However, all-purpose flour can also produce excellent soft bread, perfect for beginners.
- For a deeper dive into flour types, Bakerpedia provides a comprehensive comparison of all-purpose and bread flour.
Notably, bread flour yields a slightly denser crumb, while all-purpose flour creates a softer, airier loaf.
2. Yeast – The Leavening Agent
- Active Dry vs. Instant Yeast – Active dry yeast needs to be dissolved in water, while instant yeast can be mixed directly with dry ingredients. Instant yeast often yields faster results, making it a favorite for busy bakers.
Additionally, ensuring the yeast is fresh is crucial, as expired yeast can lead to a dense, flat loaf.
3. Liquid – Hydration and Flavor
- Milk or Water – Using milk not only hydrates the dough but also adds richness and tenderness. Water, on the other hand, creates a crisper crust and lighter texture.
As a result, choosing between milk and water depends on the final texture you prefer.
4. Sugar – Fuel for Yeast and Sweetness
- Sugar feeds the yeast, promoting fermentation and ensuring the bread rises properly. It also balances flavors and adds a touch of sweetness.
Moreover, sugar contributes to the bread’s golden-brown crust during baking.
5. Salt – Flavor Enhancer and Yeast Controller
- Salt enhances the overall flavor and slows down yeast activity, preventing the dough from rising too quickly.
In contrast, omitting salt can result in over-proofed dough that lacks flavor and structure.
6. Fat – The Secret to Softness
- Butter or Oil – Adding fat to the dough increases softness and moisture, contributing to that signature fluffy sandwich bread texture.
In particular, butter adds a richer flavor, while oil results in a slightly lighter, airier crumb.
By understanding these essential ingredients and how they interact, you’re well on your way to creating soft, delicious sandwich bread at home. Consequently, this knowledge will set you up for success, no matter how experienced you are in the kitchen.
Ready to get started? In the next section, we’ll walk you through the step-by-step process to bake your first loaf.
The Step-by-Step Guide to Baking Soft Sandwich Bread
Gathering Ingredients and Tools
Before you begin baking, it’s essential to gather all the necessary ingredients and tools. This ensures a smooth and efficient process from start to finish.
Ingredients: Homemade soft sandwich bread
- Bread flour or all-purpose flour
- Yeast (instant or active dry)
- Milk or water
- Sugar
- Salt
- Butter or oil
Tools:
- Measuring cups and spoons
- Mixing bowls
- Stand mixer (optional)
- Loaf pan
- Dough scraper
- Kitchen towel or plastic wrap
- Wire rack for cooling
Having everything prepped not only saves time but also prevents interruptions once the dough-making process begins. For additional kitchen tips that can improve your overall cooking experience, you might enjoy this ultimate tater tot breakfast casserole recipe.
Step 1: Activating the Yeast
The first step in making soft sandwich bread is activating the yeast. This is crucial because active yeast gives the bread its light, airy structure.
Start by dissolving 2 ¼ teaspoons of active dry yeast in warm water (around 110°F). Add a teaspoon of sugar to help feed the yeast. After about 10 minutes, the mixture should appear frothy and bubbly, indicating the yeast is ready to use.
If no bubbles form, the yeast may have expired. In this case, it’s best to start over with fresh yeast. A similar activation process is used when baking biscuits, as explained in this guide on cooking perfect air fryer biscuits.
Step 2: Mixing the Dough
Once the yeast is activated, it’s time to mix the dough. This step plays a critical role in determining the bread’s final texture.
In a large bowl, combine the activated yeast mixture with flour, sugar, salt, and melted butter or oil. Gradually add warm milk or water, mixing until a rough dough forms. Initially, the dough might seem sticky, but this is normal.
For more consistent results, use a stand mixer with a dough hook. The dough should be soft but not overly wet. If it sticks excessively to your hands, add a little more flour.
If you’re new to baking or want to explore other homemade breakfast options, check out these healthy breakfast ideas.
Step 3: Kneading the Dough
Now that the dough is mixed, kneading becomes essential. This step develops gluten, which gives the bread its structure and elasticity.
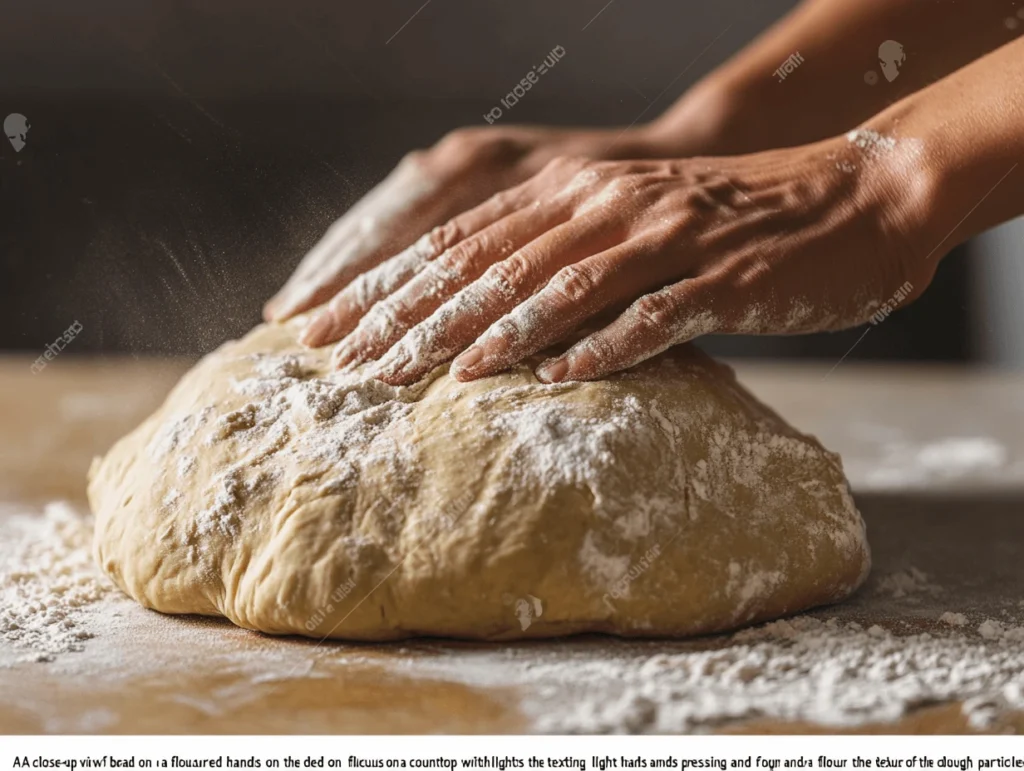
To knead, place the dough on a lightly floured surface. Use the heel of your hand to push the dough away from you, then fold it back over itself. Repeat this motion for 8-10 minutes until the dough becomes smooth and elastic.
Alternatively, if you prefer using a stand mixer, knead the dough on low speed for 5-6 minutes. Both methods work well, but consistency is key.
Step 4: First Rise
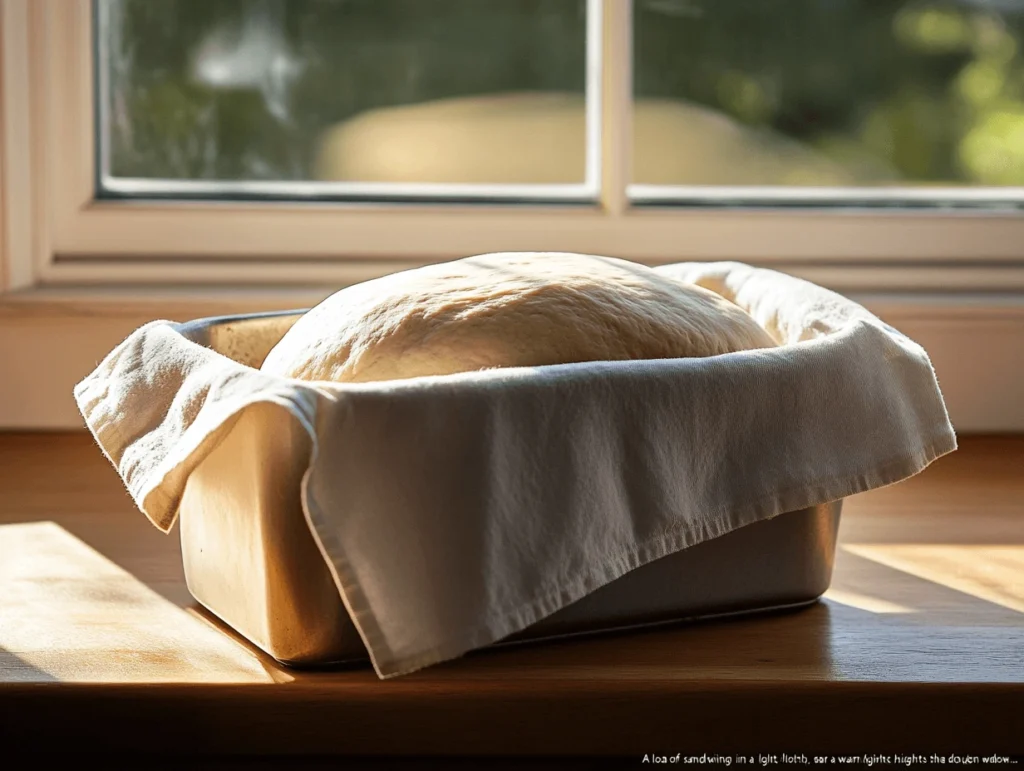
After kneading, transfer the dough to a greased bowl, covering it with a towel or plastic wrap. This begins the first rise.
Let the dough rise in a warm place for 1 to 2 hours or until it doubles in size. If your kitchen is cool, place the bowl in an oven with the light on or near a warm stove.
Should the dough fail to rise, it may be due to inactive yeast or a cold environment. Allow more time or relocate it to a warmer spot.
Step 5: Shaping the Dough
Once the dough has risen, it’s time to shape it for baking. Proper shaping ensures even rising and a uniform crumb.
Turn the dough onto a floured surface and gently press it into a rectangle. Roll it tightly from the shorter side, sealing the edges as you go. This creates surface tension, helping the loaf maintain its shape during baking.
Place the shaped dough seam-side down into a greased loaf pan. This technique ensures a classic sandwich loaf appearance.
Step 6: Second Rise
The second rise is vital for achieving the bread’s soft texture.
Cover the loaf pan and let the dough rise for 45 minutes to an hour. The dough should expand just above the rim of the pan.
To check if it’s ready, press gently with a finger. If the indentation slowly springs back, the dough is ready for baking.
Step 7: Preheating and Baking the Bread
While the dough finishes its second rise, preheat the oven to 375°F (190°C). This ensures the oven is ready when the loaf goes in.
Bake the bread for 30-35 minutes. For a golden, shiny crust, brush the top with melted butter halfway through baking.
The loaf should sound hollow when tapped on the bottom. If a softer crust is desired, tent the loaf with foil during the final 10 minutes of baking.
Step 8: Cooling and Slicing
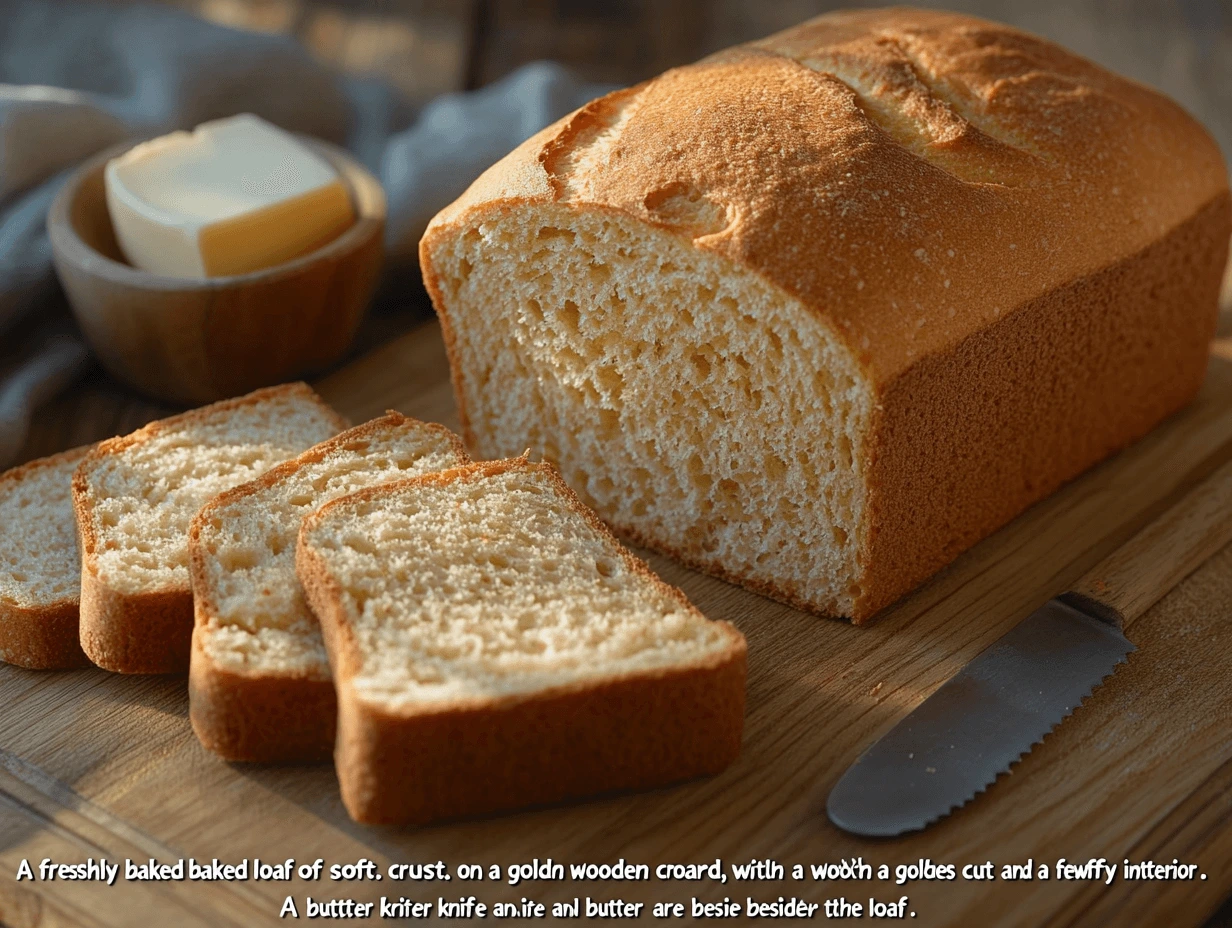
After baking, carefully remove the bread from the pan and transfer it to a wire rack. Cooling is crucial as slicing too early can cause the bread to collapse.
Allow the loaf to cool for at least an hour before cutting. Use a serrated knife for clean slices.
Now, your homemade soft sandwich bread is ready to enjoy! If you want more baking tips or unique breakfast recipes, check out this chocolate chip pancake recipe.

FAQs About Baking Bread – Answering Your Top Questions
What is Artisan Bread and How is it Different from Regular Bread?
Artisan bread is typically made with minimal ingredients – flour, water, salt, and yeast. It often relies on longer fermentation times to develop flavor and texture. Compared to regular sandwich bread, artisan bread features a thicker crust, open crumb structure, and is often shaped by hand.
In contrast, soft sandwich bread is enriched with ingredients like milk, butter, and sugar, resulting in a tender crumb and light texture, ideal for everyday use.
What are the Best Bread Brands Known for Soft Sandwich Loaves?
Some of the most popular bread brands that consistently produce soft, high-quality sandwich loaves include:
- Wonder Bread – Known for its soft, classic white bread.
- Nature’s Own – Offers whole grain and enriched white bread options.
- Pepperidge Farm – Famous for a variety of soft breads with added flavor, like cinnamon raisin and honey wheat.
If you enjoy baking at home, replicating the softness of these brands can be achieved by following enriched dough recipes.
How Do I Make Homemade soft sandwich bread at Home Easily?
For a simple bread recipe, start with the basics:
- 3 cups bread flour or all-purpose flour
- 2 ¼ tsp active dry yeast
- 1 cup warm milk or water
- 2 tbsp sugar
- 1 tsp salt
- 3 tbsp butter or oil
Mix the ingredients, knead the dough, let it rise, and bake at 375°F for 30-35 minutes. For beginners, sandwich bread is a great entry point into baking due to its straightforward process.
What are the Different Types of Bread I Can Bake at Home?
Home bakers can experiment with various types of bread, including:
- Artisan sourdough – Requires long fermentation and natural starters.
- Whole wheat bread – Packed with fiber and nutrition.
- Brioche – A rich, buttery bread ideal for desserts or French toast.
- Flatbreads – Simple and quick to make, perfect for wraps and pizzas.
- Focaccia – Topped with herbs and olive oil, this bread is great as a side dish.
Exploring different recipes helps expand your baking skills and allows you to discover the bread that suits your taste best.
Why is My Bread Not Rising Properly?
Bread may not rise due to several factors:
- Inactive yeast – Ensure the yeast is fresh and properly proofed.
- Cold environment – Dough needs a warm place (around 75-80°F) to rise.
- Insufficient kneading – Proper gluten development is essential for structure and rise.
Try placing the dough in a pre-warmed oven with the light on or near a stove to encourage rising.
Can I Make Bread Without Yeast?
Yes! Some types of bread, like soda bread or flatbread, don’t require yeast. Instead, they rely on baking soda, baking powder, or natural fermentation to leaven the dough. These breads are faster to prepare and great for those who want to skip the waiting time for yeast activation.
What is the Easiest Homemade Bread Recipe Using Yeast?
The easiest homemade bread recipe with yeast typically includes just four ingredients: flour, yeast, water, and salt. This basic recipe can be adjusted by adding milk, butter, or sugar for a softer texture.
A simple sandwich loaf is an ideal choice for beginners, as it requires minimal ingredients and effort. The dough can also be shaped into dinner rolls or burger buns for versatility.
How Can I Make My Bread Crust Softer?
To achieve a soft crust:
- Brush the loaf with melted butter immediately after baking.
- Bake the bread at a slightly lower temperature.
- Tent the loaf with foil during the last 10 minutes of baking to trap moisture.
Soft sandwich loaves benefit from enriched dough, which naturally produces a tender crust and crumb.
How Do I Store Homemade Bread to Keep it Fresh?
Homemade bread can be stored in an airtight container or wrapped in plastic wrap for up to 3 days at room temperature. For longer storage, freeze the bread in slices and toast when needed. Avoid refrigerating, as this can dry out the bread faster.
By understanding these key elements of bread baking, you’ll be well on your way to mastering various homemade bread recipes. Whether it’s a simple loaf or experimenting with different types of bread, baking at home is rewarding and delicious.

